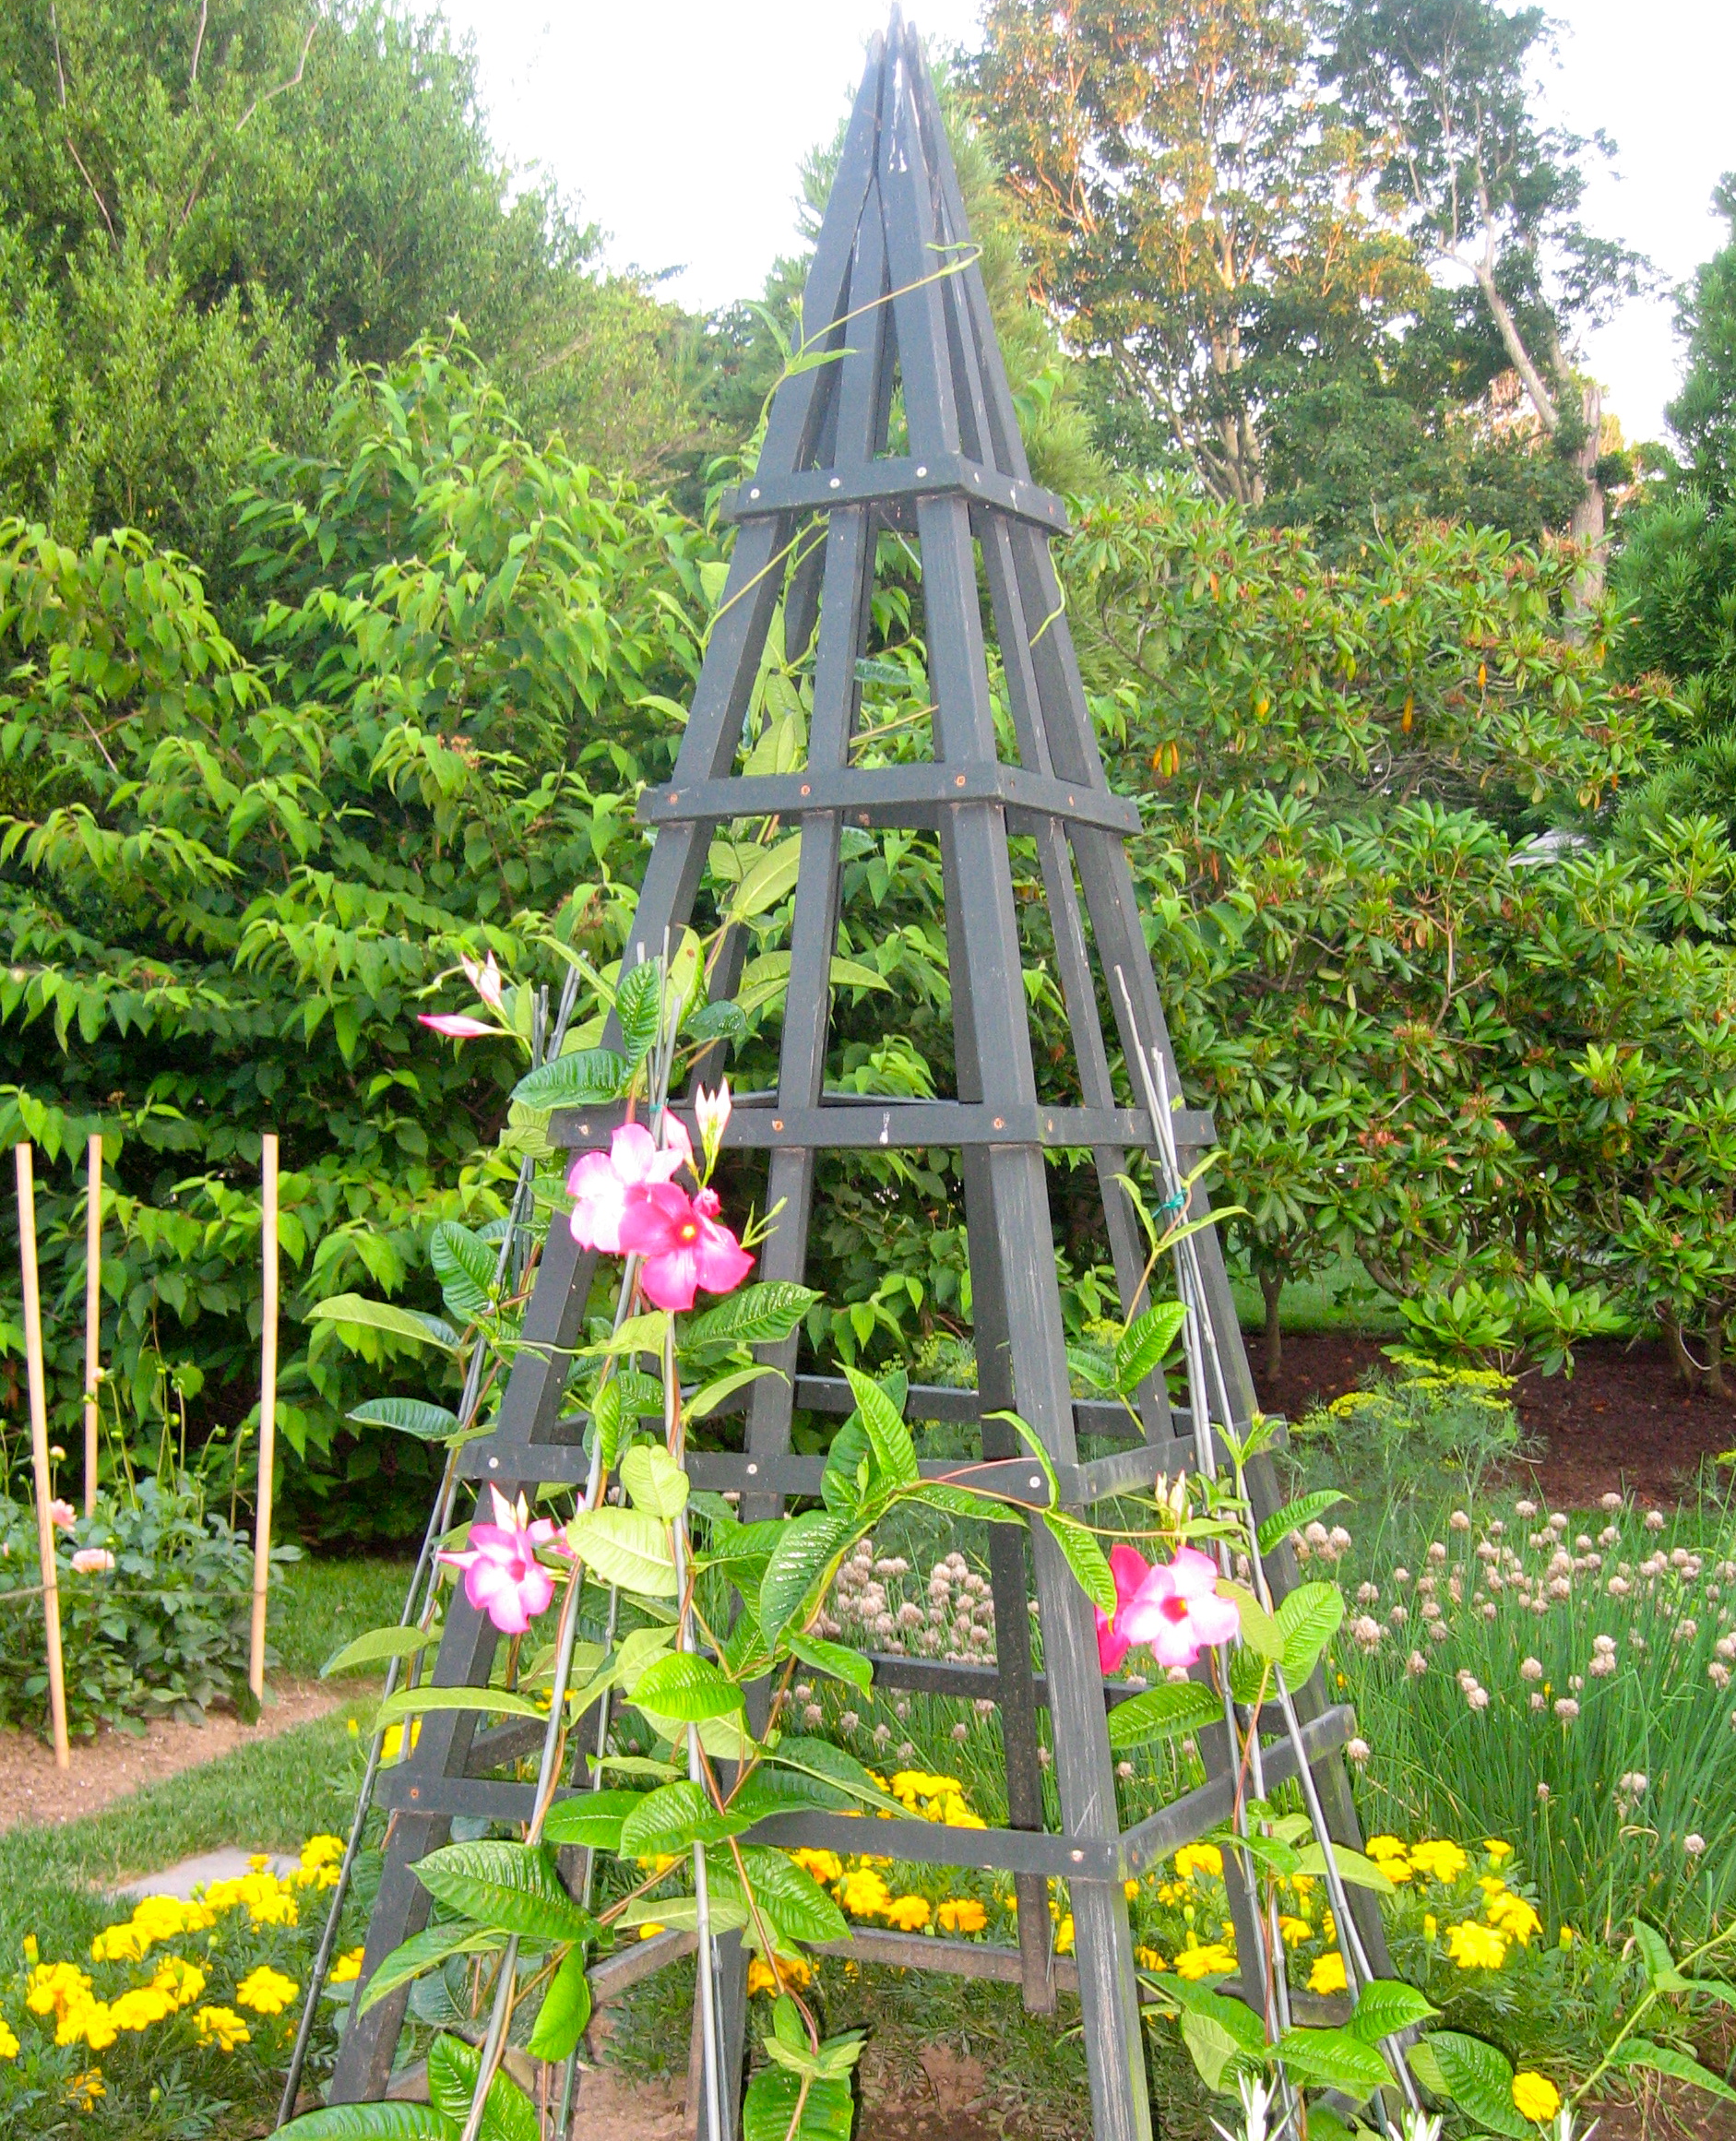
If I had a yard, I’d carve out a spot for a kitchen garden and grow tomatoes, zucchini, strawberries and rhubarb in addition to herbs and flowers. I’d also build an obelisk-shaped tuteur like the one I saw at The Hedges Inn in the Hamptons a couple of weeks ago and put it right in the middle of the garden. I don’t have a yard, so I won’t be building the tuteur, but a girl can dream. If you do have a yard, however, and would like to make a tuteur like this one, here’s how:
Materials:
•Four 2”x2” 8-foot-long boards
•Four 1”x2” 8-foot-long boards
•36 feet of 2”-wide x ½”-thick garden lattice
•Table saw with adjustable blade tilt settings
•Tape measure or yardstick
•Pencil
•Medium-grade sandpaper
•Wood glue
•Drill with drill and screwdriver bits
•1½” and 2½” wood screws
•Primer and paint
•Paint brushes
Directions:
1. Cut the ends of all four 2”x2” pieces of lumber at 10-degree angles by setting the table/blade tilt quadrant or miter gauge of a table saw at 80 degrees. Set the boards in place one at a time and cut.
2. Cut one end of all of the 2”x1” boards into 20-degree angles, by setting the table/blade tilt quadrant or miter gauge of the table saw at 80 degrees. Set the boards in place one at a time with 2” side down and cut. Flip the board over and cut again to form the 20-degree point at top.
3. Cut 18” inches off the bottom end of each 2”x2” board. Sand the cut ends of all boards.
4. Place one 2”x1” board on a work surface pointed end up and 2” side flat on the surface. Place the 2”x2”boards along both sides of the pointed end of the 1”x1” board, so that the cut top ends of the 2”x2” boards align flush with the pointed end of the 2”x1” board and meet at a 20-degree angle at top. Hold a straightedge over the bottom of the boards and mark the center board where it aligns with the bottoms of the 2”x2” boards. Remove the 2″x1” board and cut off the bottom at the mark and cut all remaining 2”x1” boards to this length, too.
5. Replace the pointed end of the 2”x1” board between the two adjoining 2”x2” and apply wood glue between all seams; hold and let dry.
6. Drill a starter hole through each side of the 2”x2” boards and into the 2”x1” center board. Secure the boards together with 2½” wood screws.
7. Repeat steps 5 and 6 with a second set of two 2”x2” and one 2”x1” boards.
8. Starting from the top of each frame, measure and mark 1-foot increments along each 2”x2” leg. Measure across the width of the frame at each mark and add 1”. Cut four pieces of lattice to each of these dimensions. Cut the ends of each piece of lattice at 45-degree angles. Sand all the cut ends.
9. Form the smallest square frame of lattice by adjoining the cut ends into 90-degree angles and glue in place. Repeat for all remaining square frames of lattice.
10. Connect the two pointed frames of the tuteur by placing another 2”x1” board on a work surface, pointed end up and 2” side flat; then holding each pointed frame perpendicular to the work surface, align the free angled tops of the 2”x2”boards over the pointed 2”x1” board, apply wood glue to the seams, let dry. Drill starter holes through the the 2”x2” boards into the 2”x1” center board. Secure the boards together with 2½” wood screws. Repeat on the opposite side.
11. Carefully stand up the tuteur and lift the largest square frame over the top and lower until it stops, about 6” from the bottom. Holding the tuteur steady, drill starter holes through the lattice and into the corner and center boards of the pointed frames; then secure the square frame to the tuteur with 1½” wood screws all around. Repeat this step with each square frame as they gradually descend in size until you reach the top.
12. Prime the tuteur with two coats of primer, letting dry between coats. Then paint with two coats of paint, letting dry between coats. Press the legs of the tuteur into the soil in your garden.


